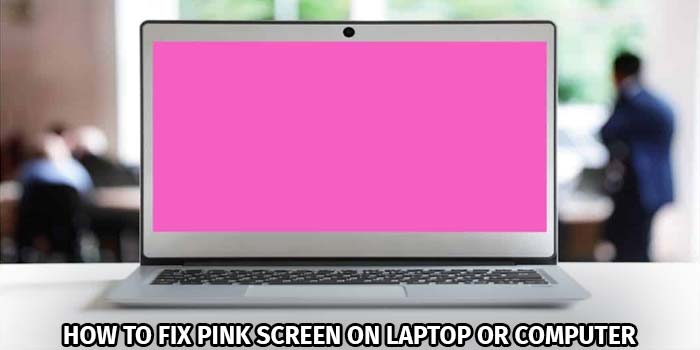
The pink screen is a very common problem in the computer hardware department. It blocks off your screen with a pink filter, resulting in your computer being almost unusable.
A pink screen can be triggered by several factors. But mostly, it is related to either physical damage or faulty software. Luckily, there are some fixes for it, and if you have a bit of experience with computer hardware, you can easily fix it at home.
This article will point out the reasons why it happens and teach you how to fix a pink screen on a laptop or computer.
What Causes a Pink Screen?
The causes of a pink screen can vary a lot from computer to computer. Physical damage is the most common reason among both laptops and computers. Here’s how physical damage affects the screen and makes it pink.
1. Broken Screen
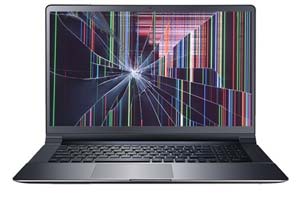
If the screen suffers some physical damage, the panel might get distorted, and pixels in the screen will start malfunctioning, causing the screen to turn pink. This could happen if you’ve dropped your laptop or dropped something heavy on the lid.
2. Faulty Cables
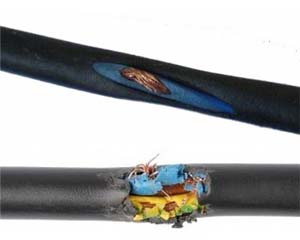
If the ribbon cables that connect your laptop screen to the motherboard get worn out or suffer from damage, the display signal will get disturbed, making the screen pink. Faulty cables are liable for many screen-related issues in laptops.
3. Loose Connection
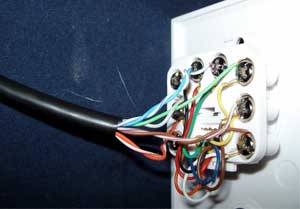
The cable that connects the display to the motherboard can get loose if it suffers heavy shocks (f.e. fall damage). This will result in the display receiving improper signals and making it go pink.
4. GPU Overheating
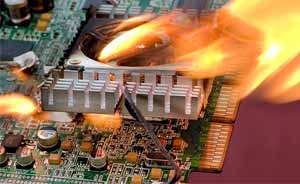
Your laptop’s GPU is what drives its display. If the GPU gets overheated, it can send faulty signals through the display cable resulting in a pink screen.
5. RAM Issues
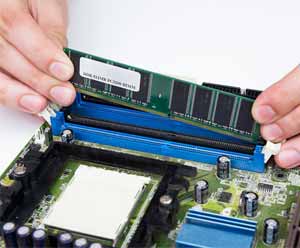
The memory of the laptop is what stores the data that gets sent to the display. If the RAM gets corrupted (which commonly happens due to voltage malfunction), it can affect the colors of the display.
The software can also be reasonable for a pink screen, some of the most common software issues include –
- Faulty display drivers
- Viruses and malware
- Invalid display settings
Fixing Software Issues

Before moving on to the hardware side of things, you should check for software issues since these are easy fixes and they involve no risks.
1. Update Graphics Drivers
To fix a faulty display, update your display driver to the latest version. You can do this by going to – Device manager > Display adapters > AMD/Nvidia graphics > Driver > Update driver.
Or, you can simply go to AMD/Nvidia’s website, download the latest driver and then install it.
2. Re-Installing/Rolling Back to an Older Driver
If you notice the issue after updating to a newer driver, you go back to the older driver by going to, Device manager > Display adapters > AMD/Nvidia graphics > Driver > Roll back driver.
Or, you can go to your GPU manufacturer’s website and download an older driver and install it.
You can even uninstall your current drivers and re-install the same driver to try to fix the problem.
3. Getting Rid of Viruses
If you feel like your computer got slower and gets laggy often after the pink screen problem occurred, then there might be malware on your PC.
Viruses can corrupt the display adapters and driver software resulting in faulty data sent to the screen, which can cause the pink screen.
The most efficient way to get rid of viruses is to buy anti-virus software. Some of the popular anti-virus software: Bitdefender, Kaspersky, and Avast.
Do a full PC scan after getting anti-virus software, it might take a while.
4. Restoring Display Settings to Default
If you messed around with the display settings too much, resetting the settings might fix the issue.
To reset, go to AMD/Nvidia Software Control Panel > Settings > Factory reset/Restore all settings to default
Fixing Hardware Issues
We’ll now talk about the methods to fix pink screen issues caused by physical damage.
Caution: These steps include opening your computer, which may void your warranty. If your device has a warranty, then contact the manufacturer to get any issues fixed.
Step 1: Checking Your GPU Temperatures
To make sure your GPU is not the main issue, check its temperature by going into the task manager. From there, click on “GPU 0”, there should be a text like “GPU temperature.” Make sure it’s running below 90 degrees at least. Typical idle temperatures should be around 40 degrees.
If you’re not on Windows 10, you can download “GPU-Z” or “ThrottleStop” to check the temperatures.
If it is running too hot, follow the next steps.
Step 2: Checking the Hinge
Turn on your laptop and slowly open the lid all the way, as far back as it goes. Now, try to shake the lid and wobble it around back and forth. If you notice the screen blinking, stuttering, or shifting colors, the problem is most definitely caused by a loose/faulty ribbon cable.
The next steps will include its fix.
Step 3: Opening up Your Laptop
Disassembling a laptop these days is fairly simple. The back panel can be removed easily by removing all the screws from the back and gently lifting it open. If you’re not too sure about it, there are tons of tutorials on YouTube for almost every laptop.
Step 4: Checking the RAM
Try removing the RAM sticks and then re-installing them. Turn on your device and see if that fixes anything. If not, move on to the next step.
Step 5: Inspecting the Display Cable
The display ribbon cable is pretty easy to spot. It’s usually on the top side of the motherboard, right below the hinge. The cable is thicker than most of the cables inside the laptop, and the plug is very wide.
There should be a pull tab above the plug, pinch it with your fingers and pull it upwards with force, the cable should come unplug.
Inspect the cable for any damage, tearing, or wearing out. If everything is good, clean the contact points with rubbing alcohol and plug it back in tightly.
However, if you do notice any damage, contacting a repair service is the best option since replacing a display cable on your own can be very tricky if you’re not experienced enough. You can get it fixed for pretty cheap.
Step 6: Cleaning the GPU Fan
The fan is what keeps the GPU cool; dust build-up can block the fan causing the GPU to overheat. Clean the fan with a small brush thoroughly. Using compressed air can make the process a whole lot easier.
While you’re at it, try cleaning the entire inside of your laptop. Dust and dirt are liable for many issues regarding laptops.
Step 7: Turning on Your Laptop for a Test Run
Before putting everything back together, turn on the PC to check if the problem persists. If the screen is still pink, then the problem is either with the screen itself.
Laptop displays usually cannot be fixed, so your only option would be to get a replacement display. Replacing a laptop screen at home is pretty risky, so getting it done at a service shop is preferred.
How to Avoid Pink Screen on a Laptop?
Avoiding display issues is pretty simple if you stay careful about these issues –
- Protect your laptop from physical damage
- Install a good anti-malware service
- Keep your display drivers up to date
- Try to keep your laptop clean
- Don’t open/close the lid with too much force
With all that said, do keep in mind that LCD screens on laptops degrade naturally over time. So common issues such as pink screen, dead pixels, light leak, etc. can happen naturally as the laptop ages. It’s better to get a replacement screen at that point.
Conclusion
To conclude, the trick to fixing a pink screen is to try every method and see what works. Since you don’t know what exactly caused it, it’ll help you find out the root problem.
So now that you know how to fix pink screen on laptop or computer, you can hopefully get your laptop fixed and keep using it. In most cases, it is the screen that gets broken and thus requires a replacement. Don’t forget to check if you have a warranty. We hope you’ve found this helpful.

